3D Printer Bootcamp v1 Wrap-up

@Cwingrav
@WalnutStLabs

We sat down with Dr. Chad Wingrave and interviewed him on his experience of facilitating our first build-your-own 3d printer boot camp. Here’s what he had to say:
Sign up for Boot Camps v2 or v3 (Aug 1 & Aug 29)

Q: Who showed up to v1?

“Five groups of makers showed up today and walked out with five new 3D printers. There were techies and father-son teams, even someone that wanted to do the build with one arm (they have two arms, but had a broken collarbone). Needless to say, we had a blast: built a lot, learned a lot and even had some pizza.”
— Dr. Chad, Chief Tinkerer

Q: What was the rollout like?

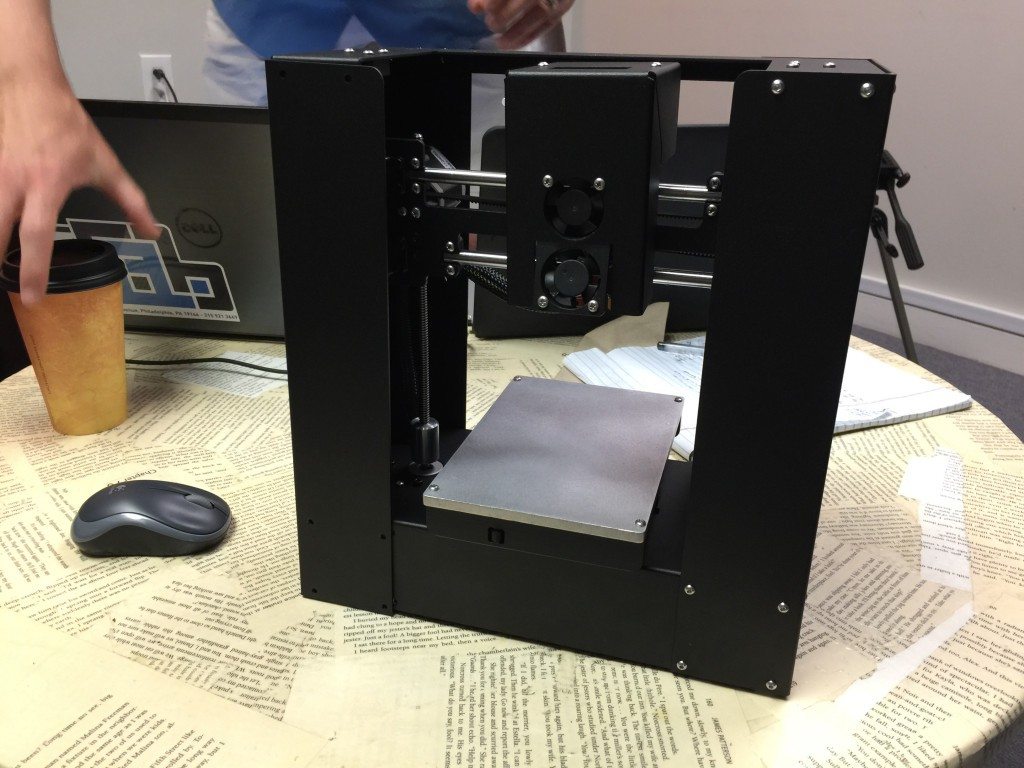
“The bootcamp started with a box of parts from PrintrBot and a goodie bag from Printed Solid. The PrintrBot Play was chosen for its quality parts and semi-ease to assemble. While it has a small build area, it is a solid 3D printer that should be able to support a budding 3D printer.”

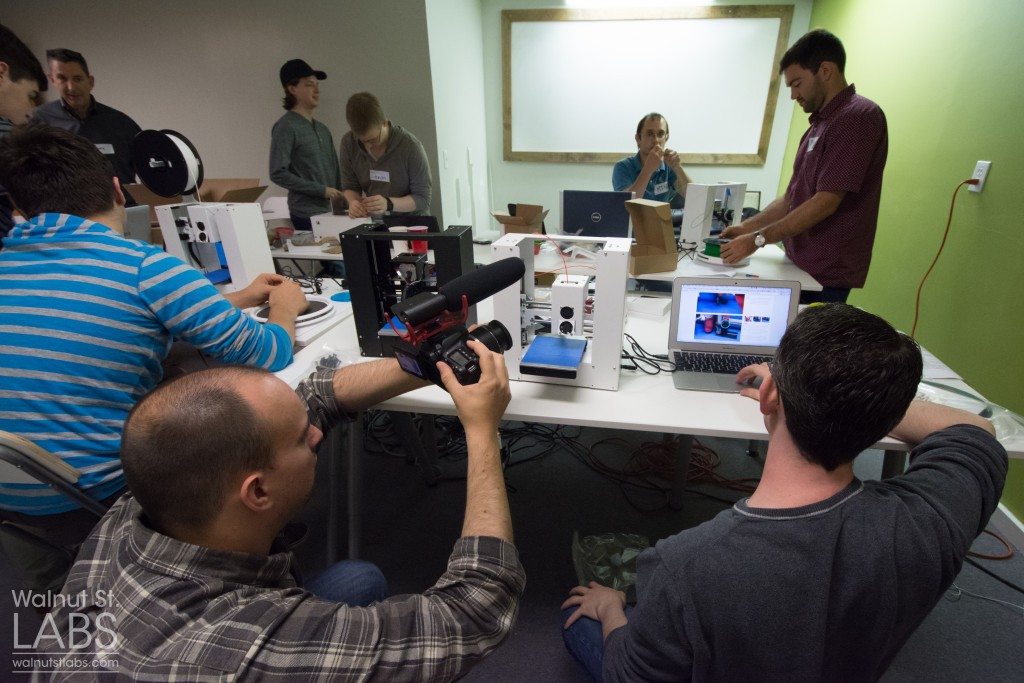
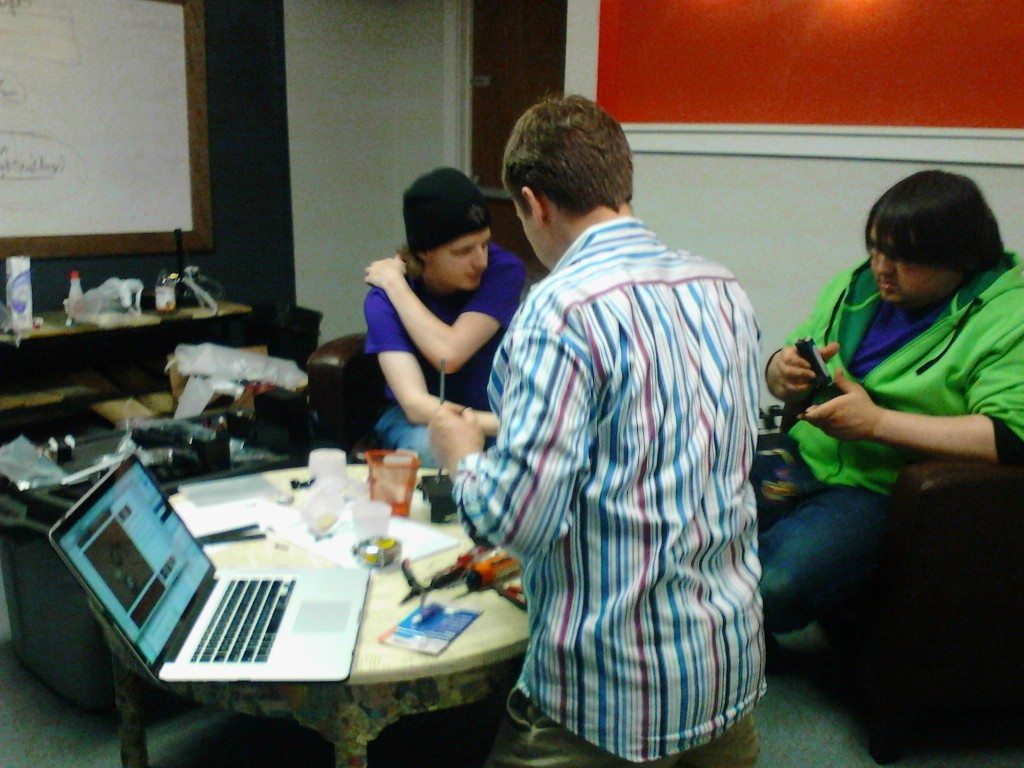
“We got started with a quick overview of the day and introductions. We talked about why each person wanted to have a 3D printer an let them know about our plans for developing a community of innovative makers in Walnut St Labs. Then, we started to build. We had great support from two interns, Peter Terjanian and Andrew Telepak. Their efforts putting together a printer for Walnut St Labs enabled them help our makers avoid those ‘gotcha!’ moments that waste time and cause confusion.”
— Dr. Chad, Chief Tinkerer
DSC_1098

Q: What did they learn about 3d printing?

“At lunch, we paused for a quick bite to eat and some instruction about 3D printing and how to use the printers. It was quick and we dovetailed back in to the build process. The topics covered included workflow, types of 3D printing, materials and other vital concepts. Its important to mention that all the participants for this bootcamp and future bootcamps will be onboarded to opensource software. The opensource component is central to our access-based mission. We’re excited that the opensource community is growing in so many different directions.”
— Dr. Chad, Chief Tinkerer

Q: So, how did we do?

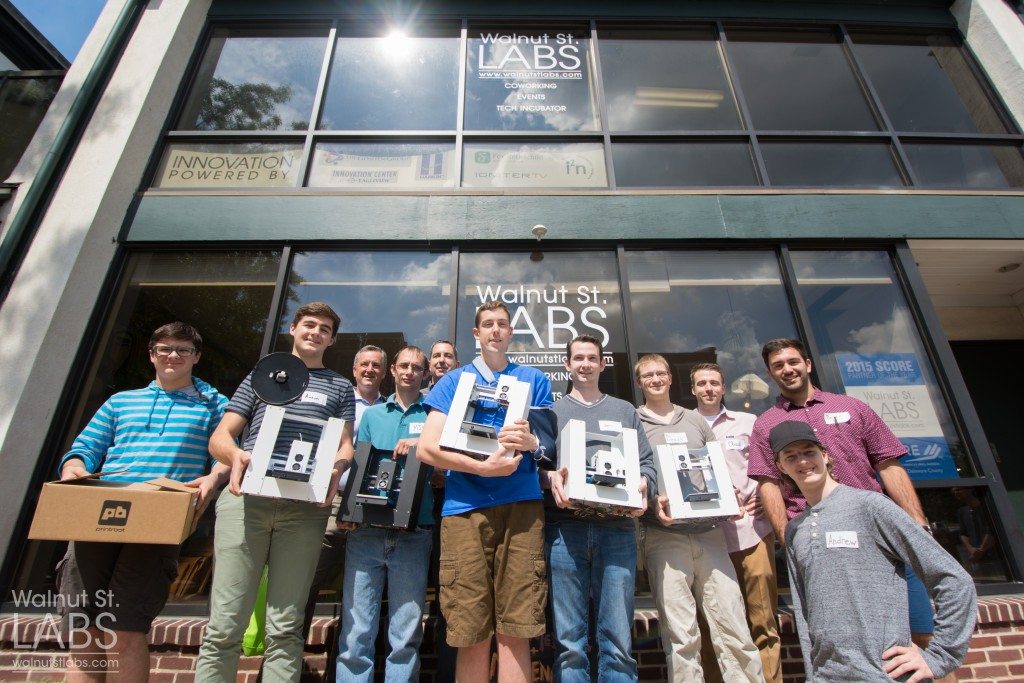
At the end, we had a great photo op with the new printers and the smiling faces. While some had more time to configure and play with their printer, all walked out with full assembled printer (except for the group with one arm that had to finish up at home). Additionally, all joined our new Makerspace community hub and plugged in to the continuing activities here at the labs.”
— Dr. Chad, Chief Tinkerer
DSC_1122 (1)

Q: What’s next for the MiniMakerSpace at WSL?

“To support our group, we are rolling out Wednesday meetups, which co-exist with our Night Owls event and are planning two more Bootcamps, this time on Saturdays (August 1st and August 29th). We hope you are able to join in at these events! We also plan to expand on workflow (the process of creating 3D models capable of being printed on a 3D printer) in upcoming iSchool Classes out of Walnut St Labs focusing on the available open source software.”
— Dr. Chad, Chief Tinkerer
Sign up for Boot Camps v2 or v3 (Aug 1 & Aug 29)

Walnut St. Labs Dives into the Hardware Space

Walnut St. Labs initial run of the 3D Printer Boot Camp was a complete success. We’ve been updating our progress along the way, and everyone’s hard work paid off. 5 local innovators walked in last Friday 6/26 and each one of them walked out with a 3D printer they built themselves with the help and support of one another and the resident Maker Technicians at WSL. This was one of our most exciting events I’ve witnessed here. I sat down with Ben Bock, one of the leaders of the project, to discuss more about the program, the goals, and the journey leading up to Friday. (more…)

Day 2 of the 1-Day Build

Printing the Z Axis Rod Ends June 16th

by Chadwick Wingrave, Maker in Residence

@cwingrav

I was looking for a phone number to call Printrbot today. No luck, but I did find specs for the Z Axis Rod Ends. Ok, not exciting to you, but it was bitter-sweet to me. You see, fitting the rod into this end required a few well-placed taps by a hammer, followed by several full-body swings of Mjölnir (aka Thor’s hammer). I can easily see people hammering the rod straight through the piece. I can easily see this because we did this and need to replace the piece on our printer.

IMG_7803

In any event, I printed a few for the Bootcamp participants using our trusty in-house Bukito and my inner-geek put the calipers down for another day.

Our 3d Printer Prototype Build

The Build as of Jun 15th

By Chadwick Wingrave, Maker in Residence

@cwingrav

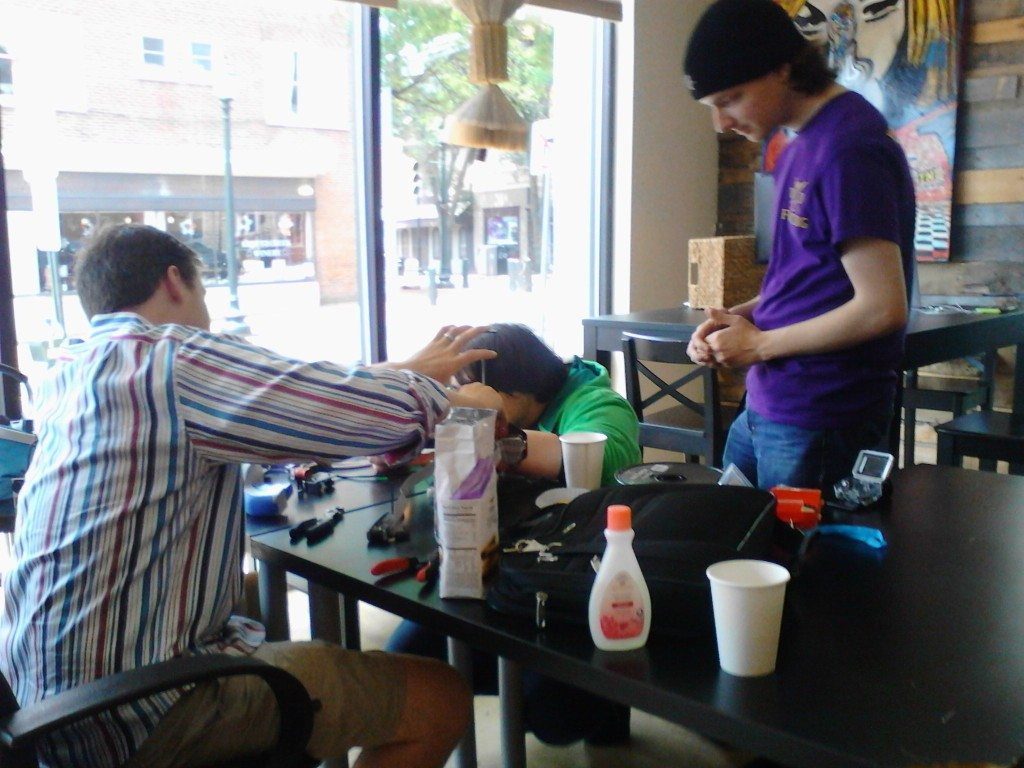
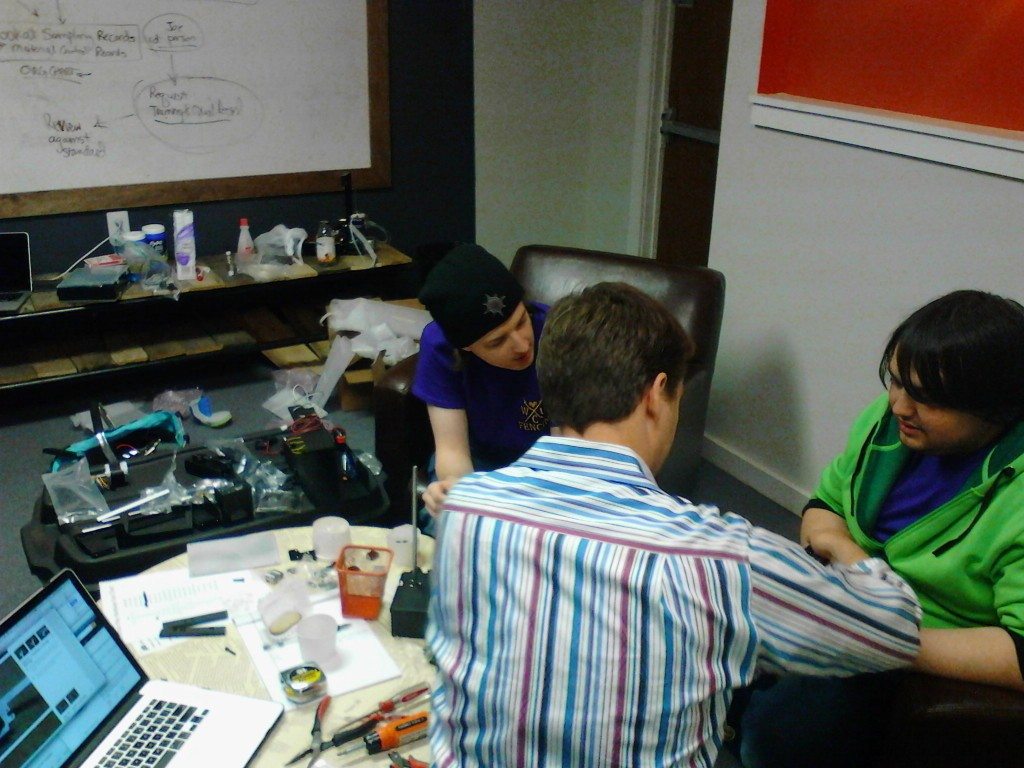
Wilhem, Andrew and I cracked open the box looking for a fun couple of hours of build time with the Printrbot “Play Kit” 3D printer. We had our tools in hand, a nice wide desk and a GoPro ready to document our afternoon conquest in preparation for the Walnut St. Labs 3D Printer Bootcamp. Well, it eventually took us two and a half days to get it all working. We lost Andrew after day one and Wilhem succumbed to dysentery over the weekend (I’m kidding, I have no idea what happened to him. But, he was sick, didn’t say why and I have this image of us as trail blazers on the Oregon Trail so dysentery seemed the likely culprit).

IMG_20150611_151845

The Printrbot “Play Kit” is a great starter kit for 3D printer beginners. While it has a small print area, it was recommended to us for its construction, ease of assembly and quality components; all great things for building a 3D printer community. We found the online instructions overall quite good, with but a few deficiencies. We noted these in anticipation of the Bootcamp and, to the credit of Printrbot, directly commented on the online directions themselves. Way to go social media.

IMG_20150611_122341

The printer parts were quality but we did have an issue with the Z Axis Rod end being too shallow and it broke through when inserting the rod. As well, we found our fan motor connector had it’s wires swapped. We asked for a clarification from Printrbot and received clarification in a few hours. Pretty speedy communication for a company that doesn’t even post a sales phone number.

IMG_20150611_151833

We still haven’t printed yet. I’m waiting for Wilhem to recover before firing up Repetier to do our first test print. For the Bootcamp, we’re going to preassemble the un-exciting base, so we can spend less time assembling and more teaching; or, How I Learned to Stop Worrying and Love the 3D Printer.

As we continue towards Bootcamp preparation, we will keep you posted.