The Build as of Jun 15th
By Chadwick Wingrave, Maker in Residence
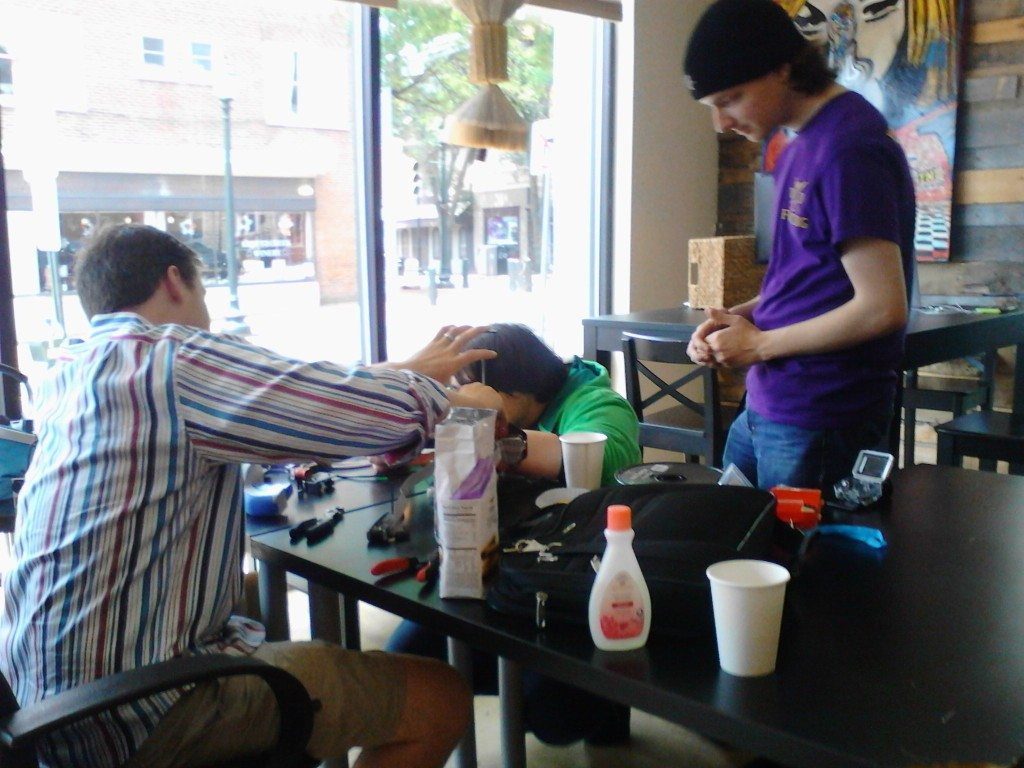
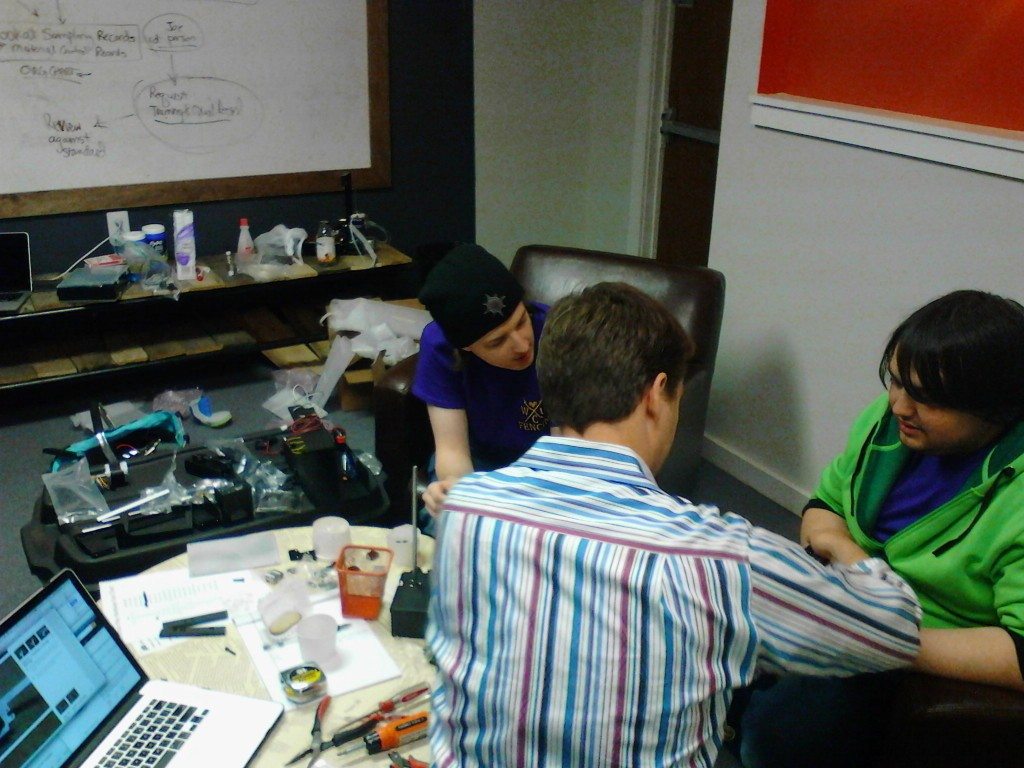
Wilhem, Andrew and I cracked open the box looking for a fun couple of hours of build time with the Printrbot “Play Kit” 3D printer. We had our tools in hand, a nice wide desk and a GoPro ready to document our afternoon conquest in preparation for the Walnut St. Labs 3D Printer Bootcamp. Well, it eventually took us two and a half days to get it all working. We lost Andrew after day one and Wilhem succumbed to dysentery over the weekend (I’m kidding, I have no idea what happened to him. But, he was sick, didn’t say why and I have this image of us as trail blazers on the Oregon Trail so dysentery seemed the likely culprit).
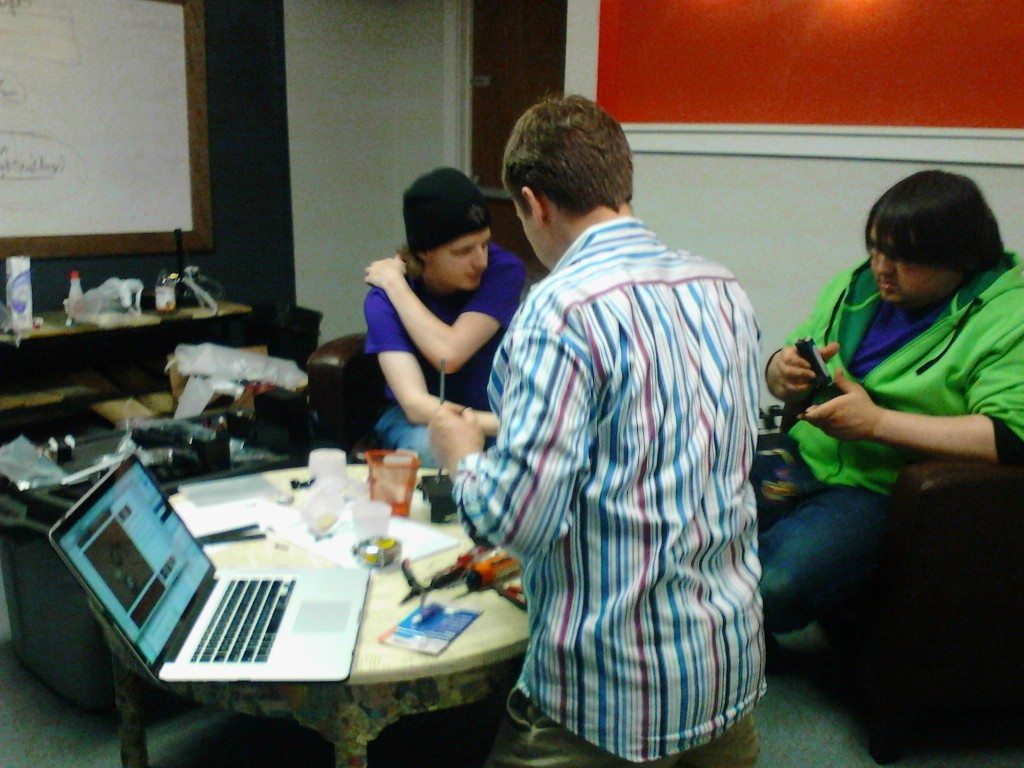
The Printrbot “Play Kit” is a great starter kit for 3D printer beginners. While it has a small print area, it was recommended to us for its construction, ease of assembly and quality components; all great things for building a 3D printer community. We found the online instructions overall quite good, with but a few deficiencies. We noted these in anticipation of the Bootcamp and, to the credit of Printrbot, directly commented on the online directions themselves. Way to go social media.
The printer parts were quality but we did have an issue with the Z Axis Rod end being too shallow and it broke through when inserting the rod. As well, we found our fan motor connector had it’s wires swapped. We asked for a clarification from Printrbot and received clarification in a few hours. Pretty speedy communication for a company that doesn’t even post a sales phone number.
We still haven’t printed yet. I’m waiting for Wilhem to recover before firing up Repetier to do our first test print. For the Bootcamp, we’re going to preassemble the un-exciting base, so we can spend less time assembling and more teaching; or, How I Learned to Stop Worrying and Love the 3D Printer.
As we continue towards Bootcamp preparation, we will keep you posted.